Step-by-Step Guide to Deploy Java Applications to Redhat Openshift(Kubernetes)
1. Register for a RedHat Developer Sandbox
https://developers.redhat.com/developer-sandbox
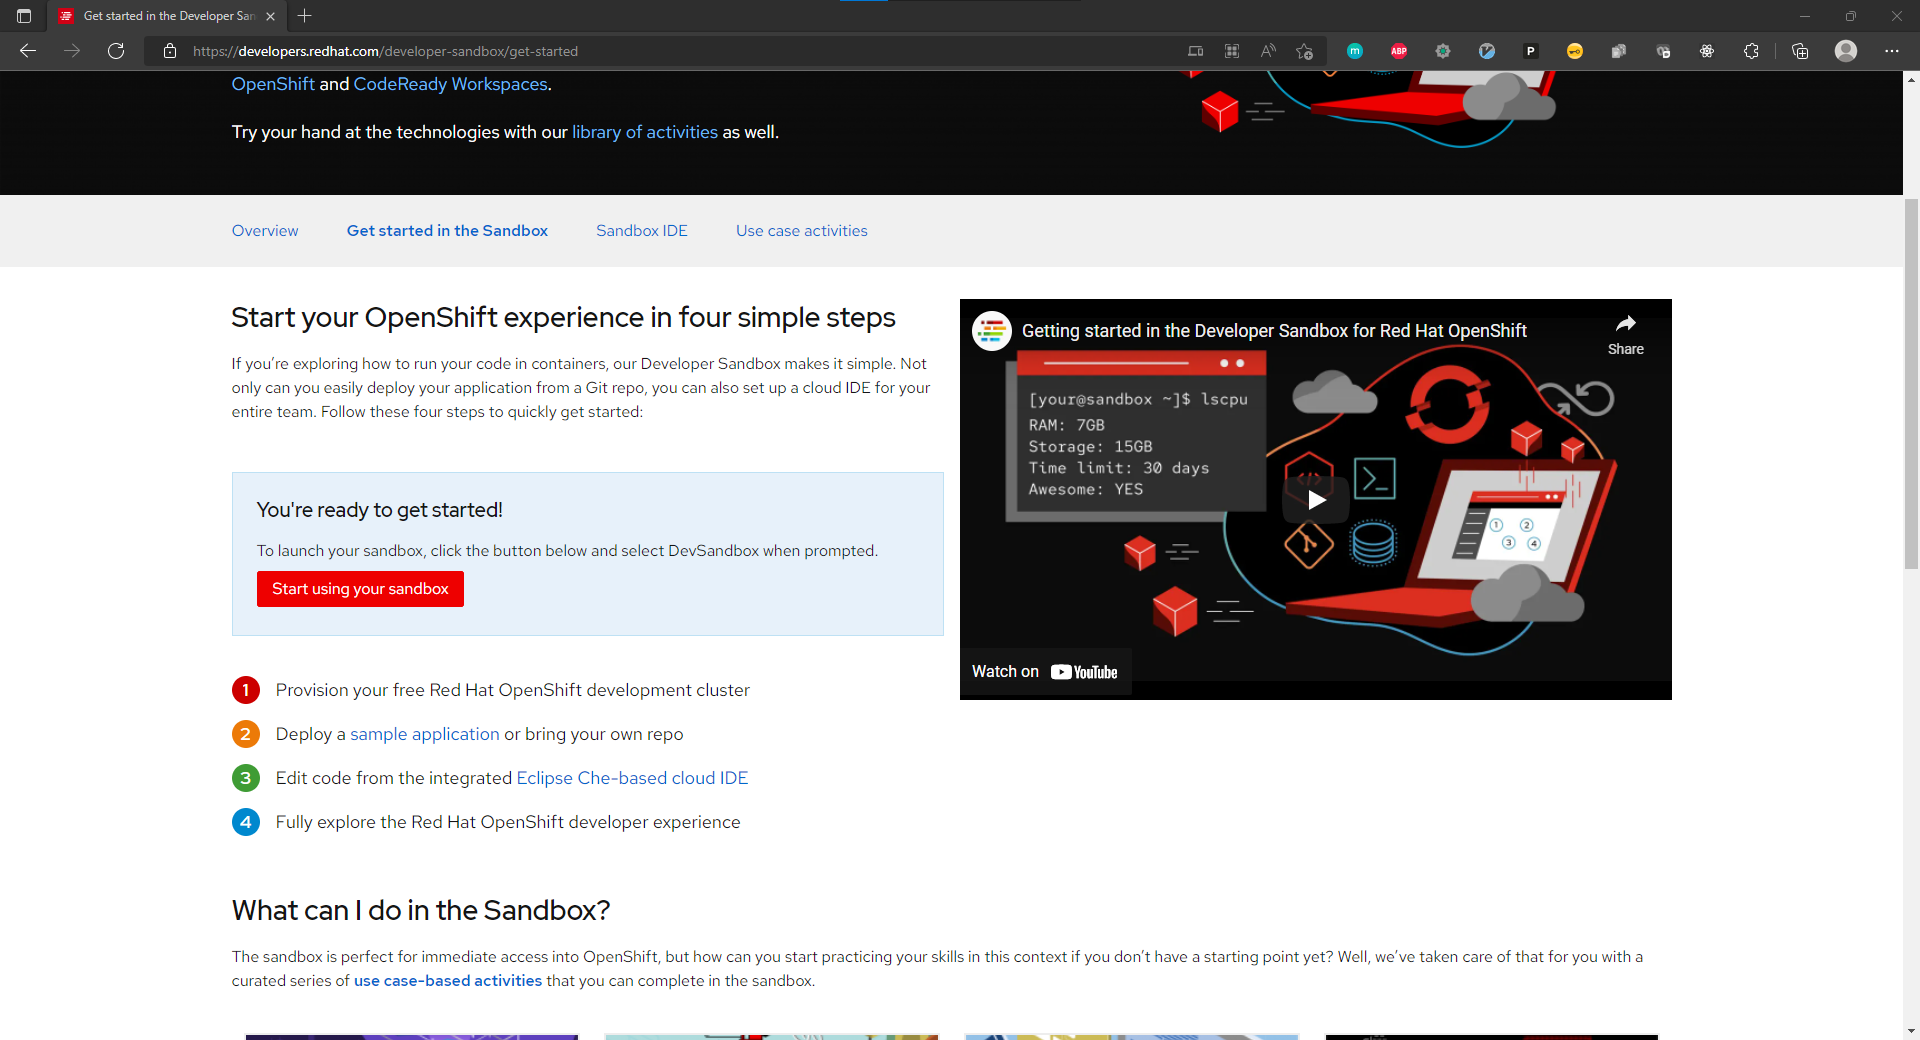
2. Login to your RedHat Developer Sandbox
https://developers.redhat.com/developer-sandbox/get-started
3. Install "oc" command line utility (RedHat's version of kubectl)
Instructions are here
4. Test "oc" command line utility
oc status
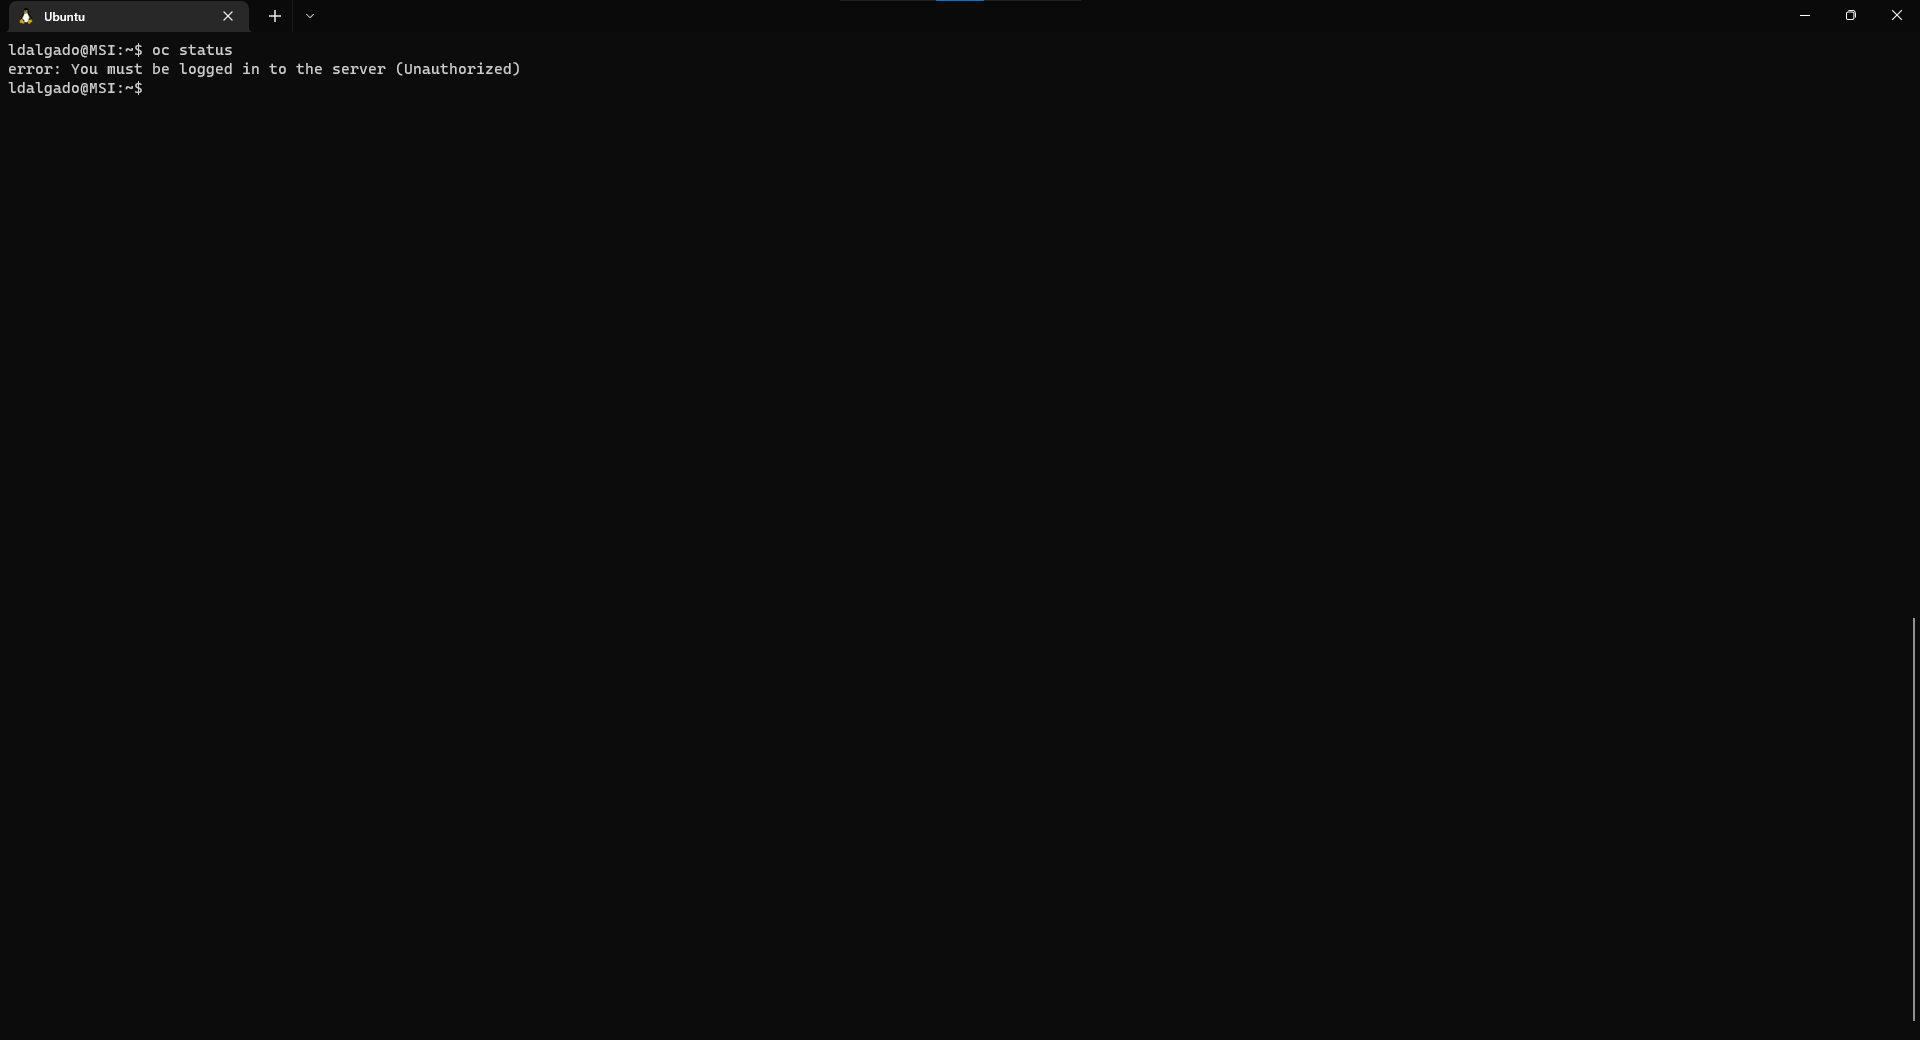
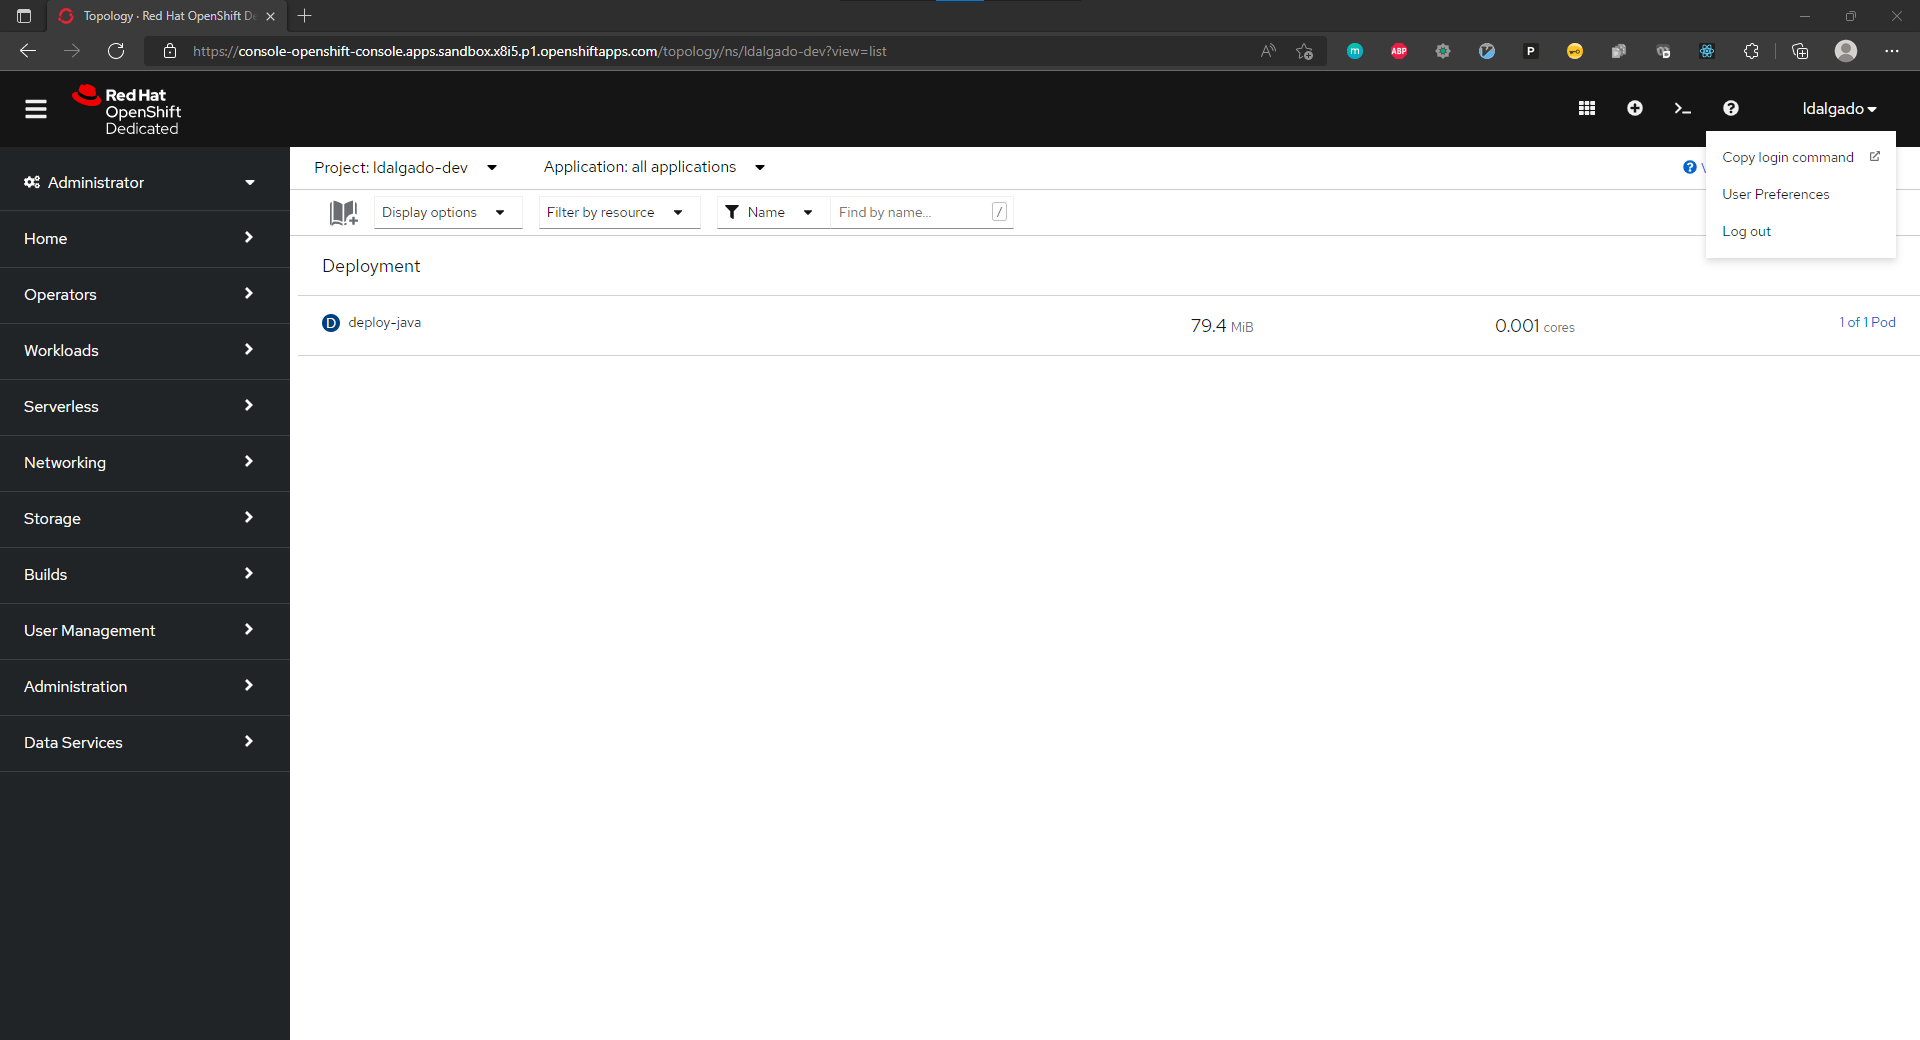
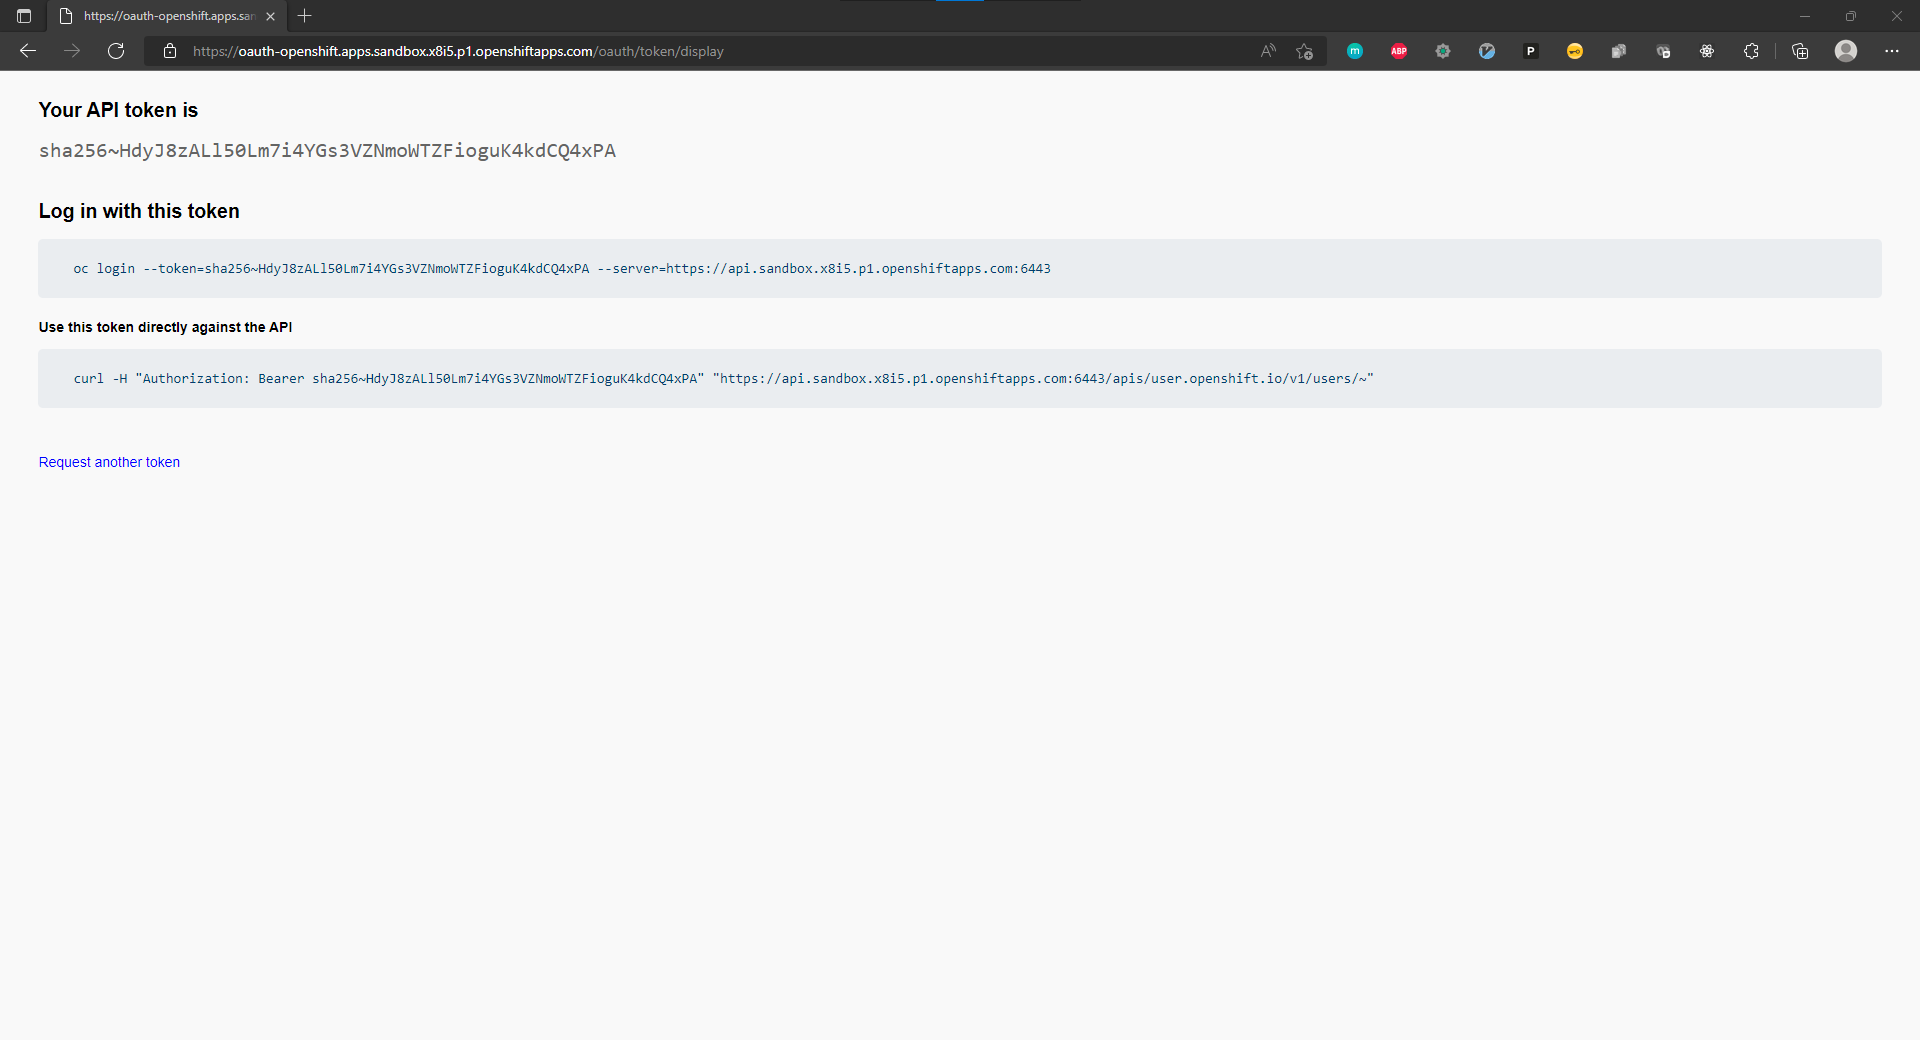
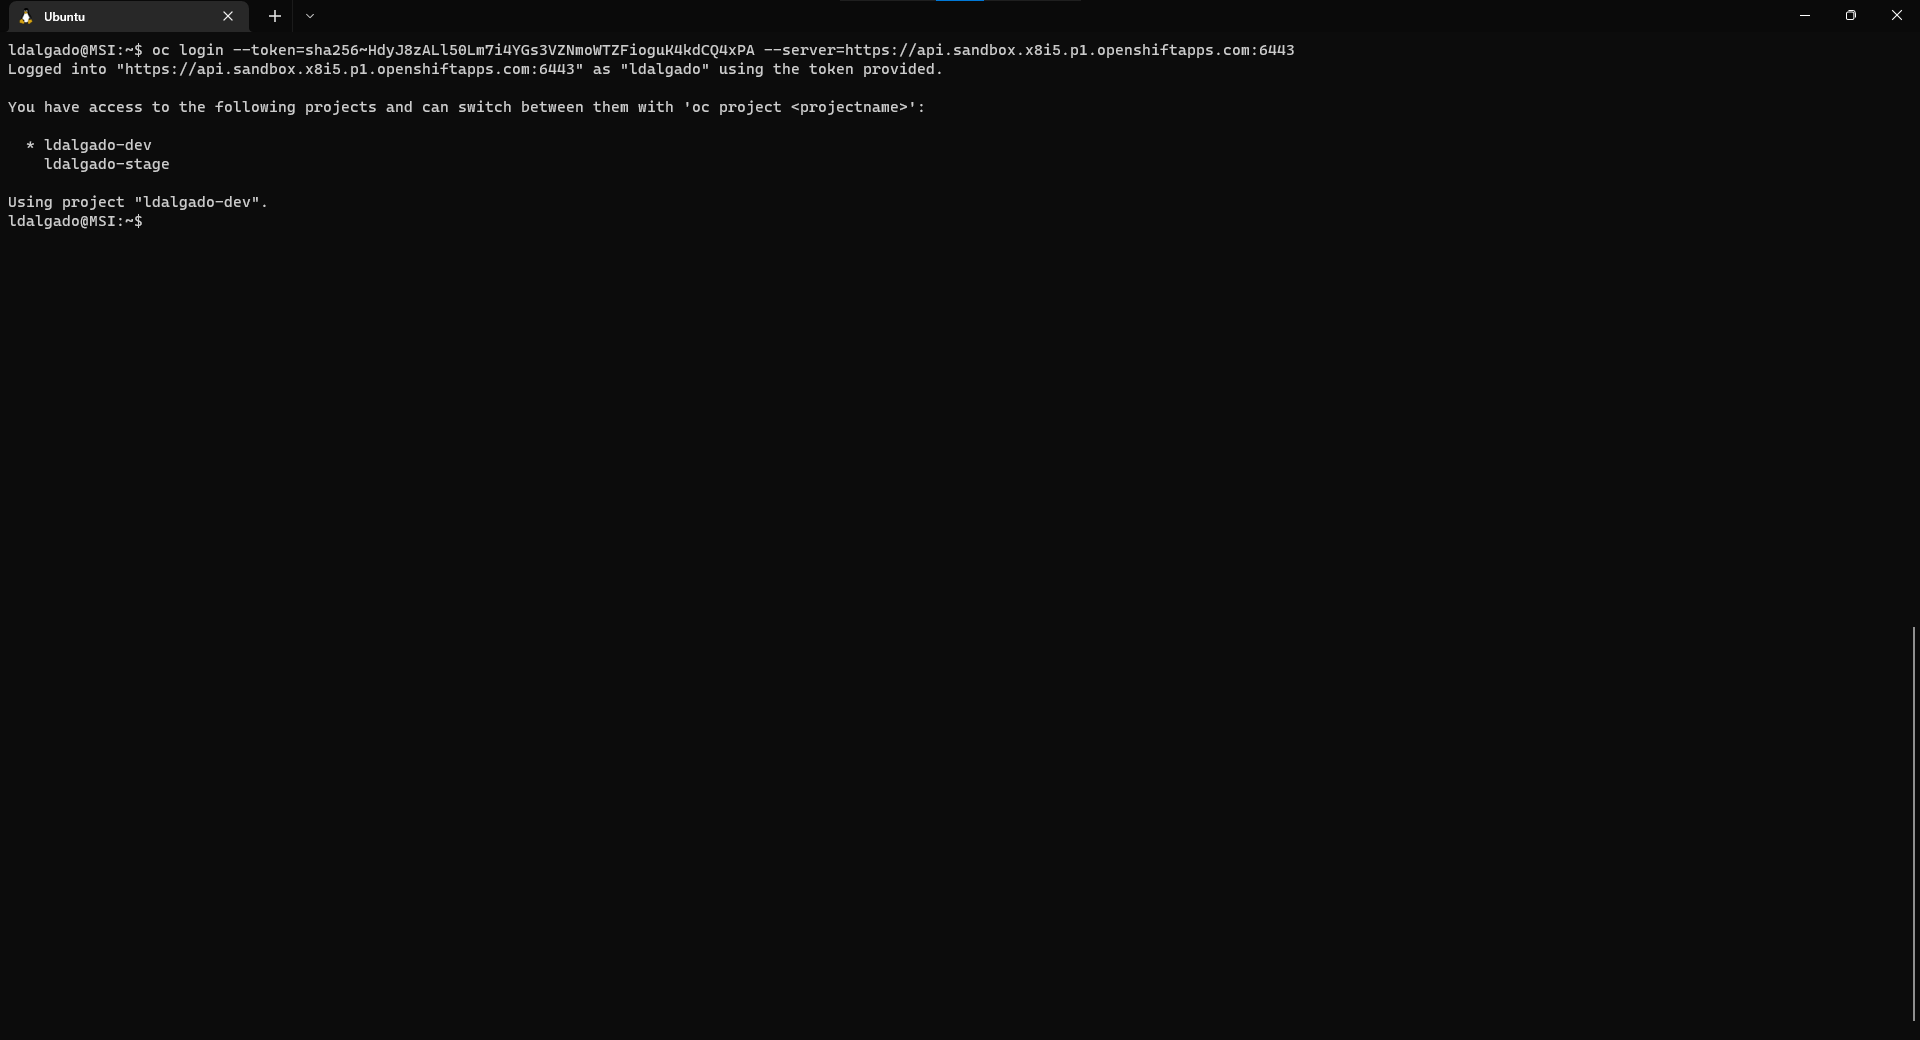
5. Copy the "oc login" command from the UI and run it on the console
6. Clone The Simple Java Application from GitHub
git clone git@github.com:dalgado-aws/first-openshift-java.git
7. Change into Application Directory
cd first-openshift-java
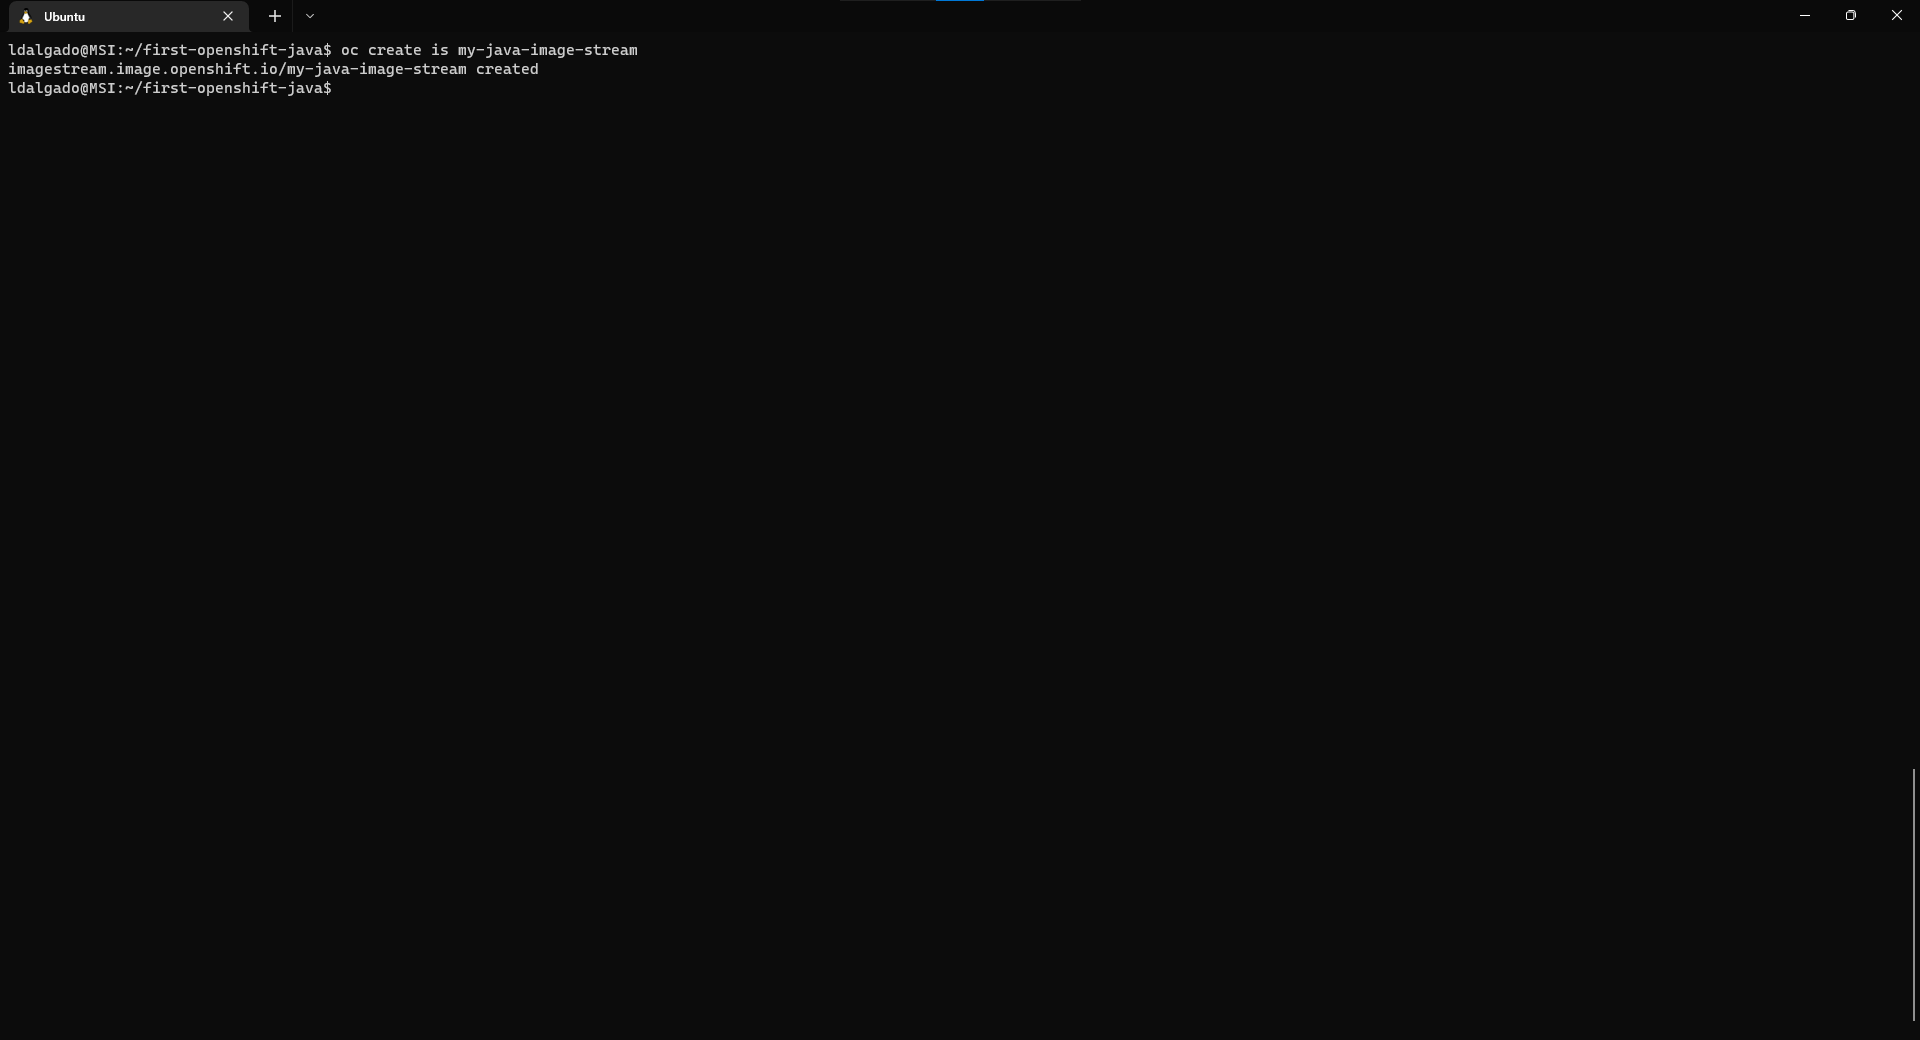
8. Create an "Image Stream" to refer to your Images
oc create is my-java-image-stream
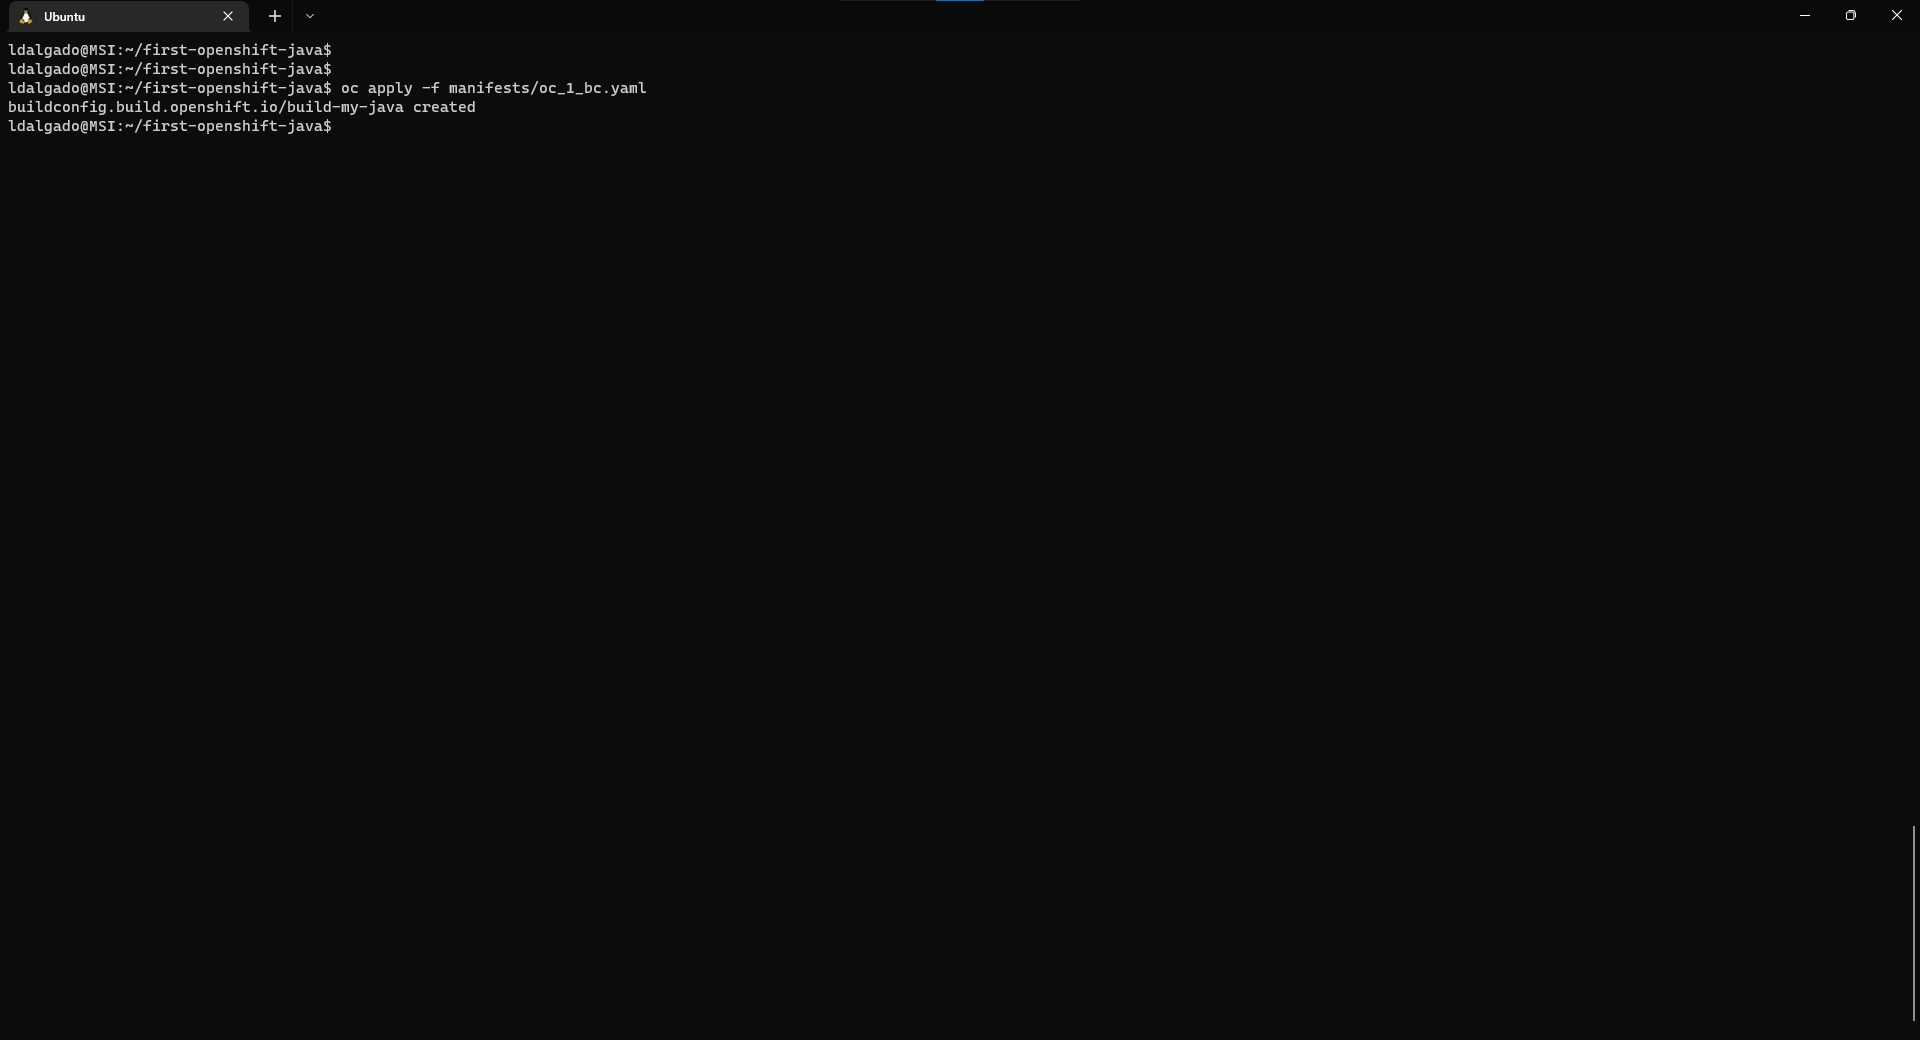
9. Create a "Build Config" to convert your Java Source Code to an Image
oc apply -f manifests/oc_1_bc.yaml
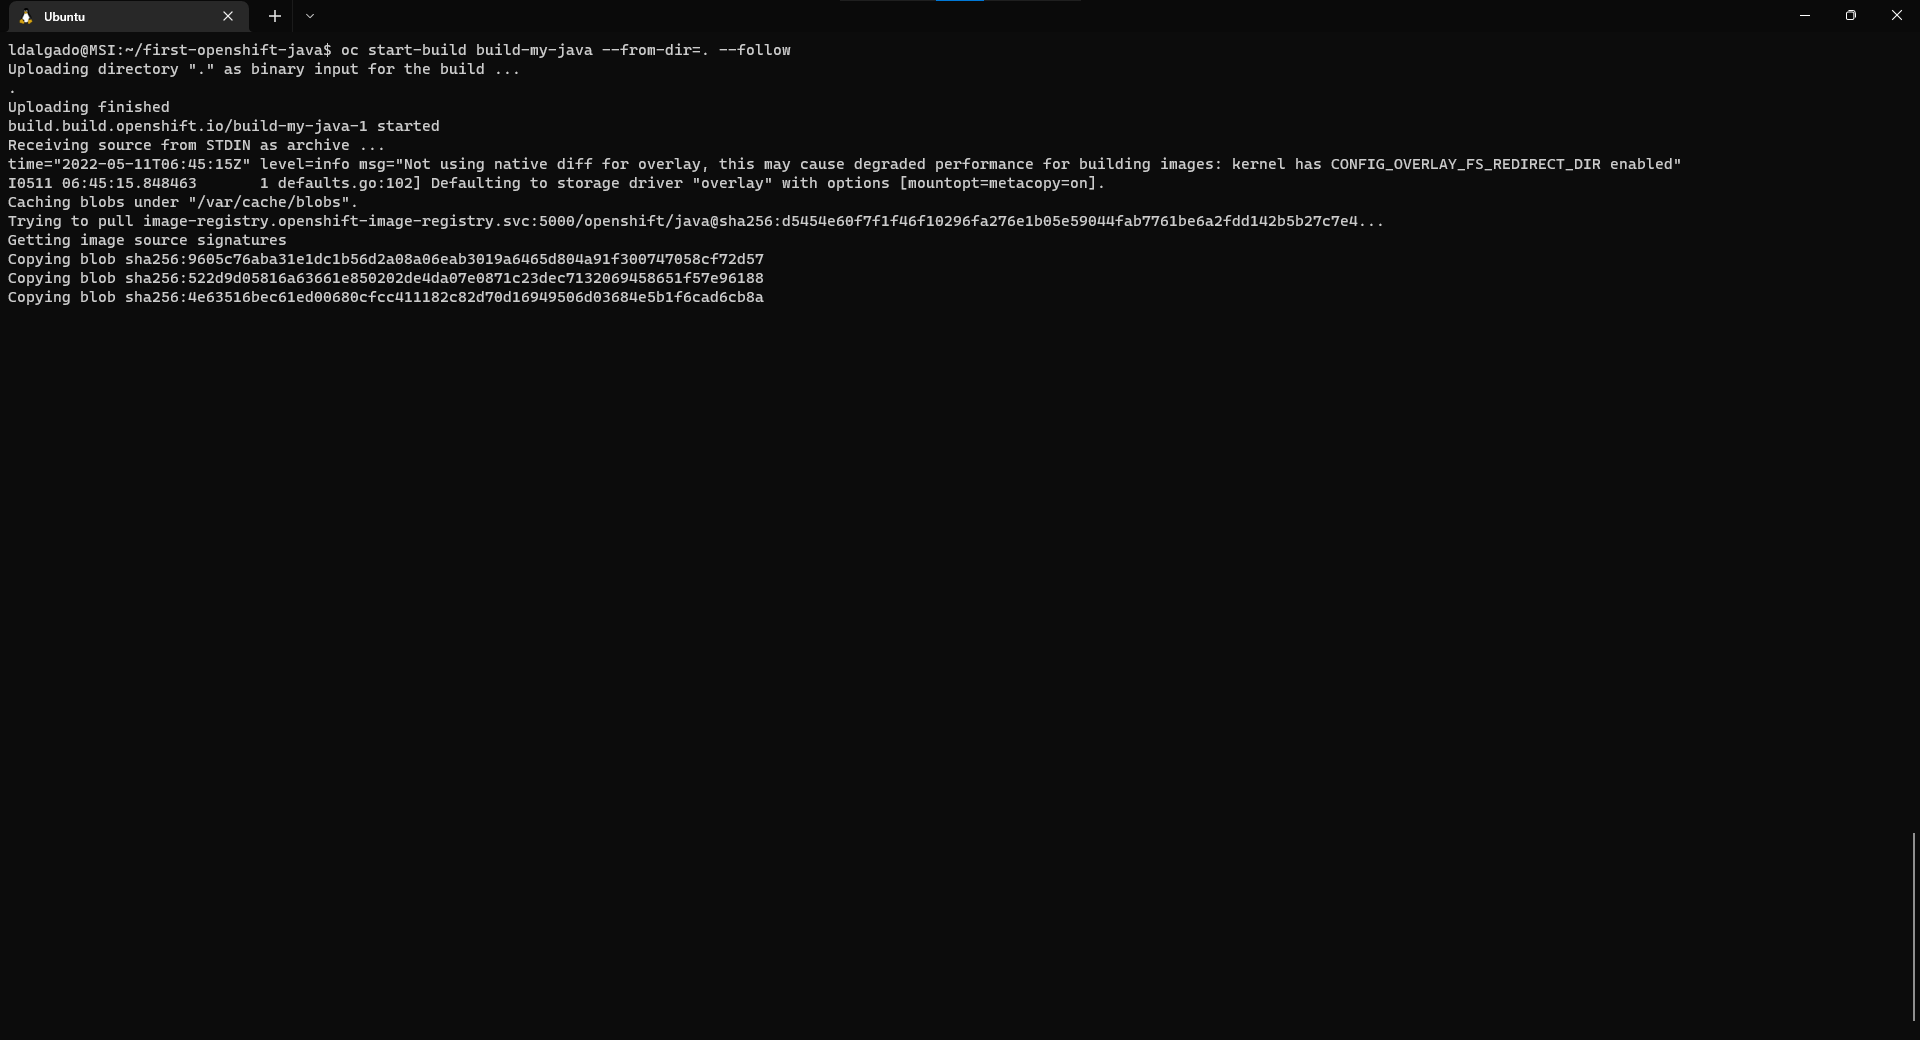
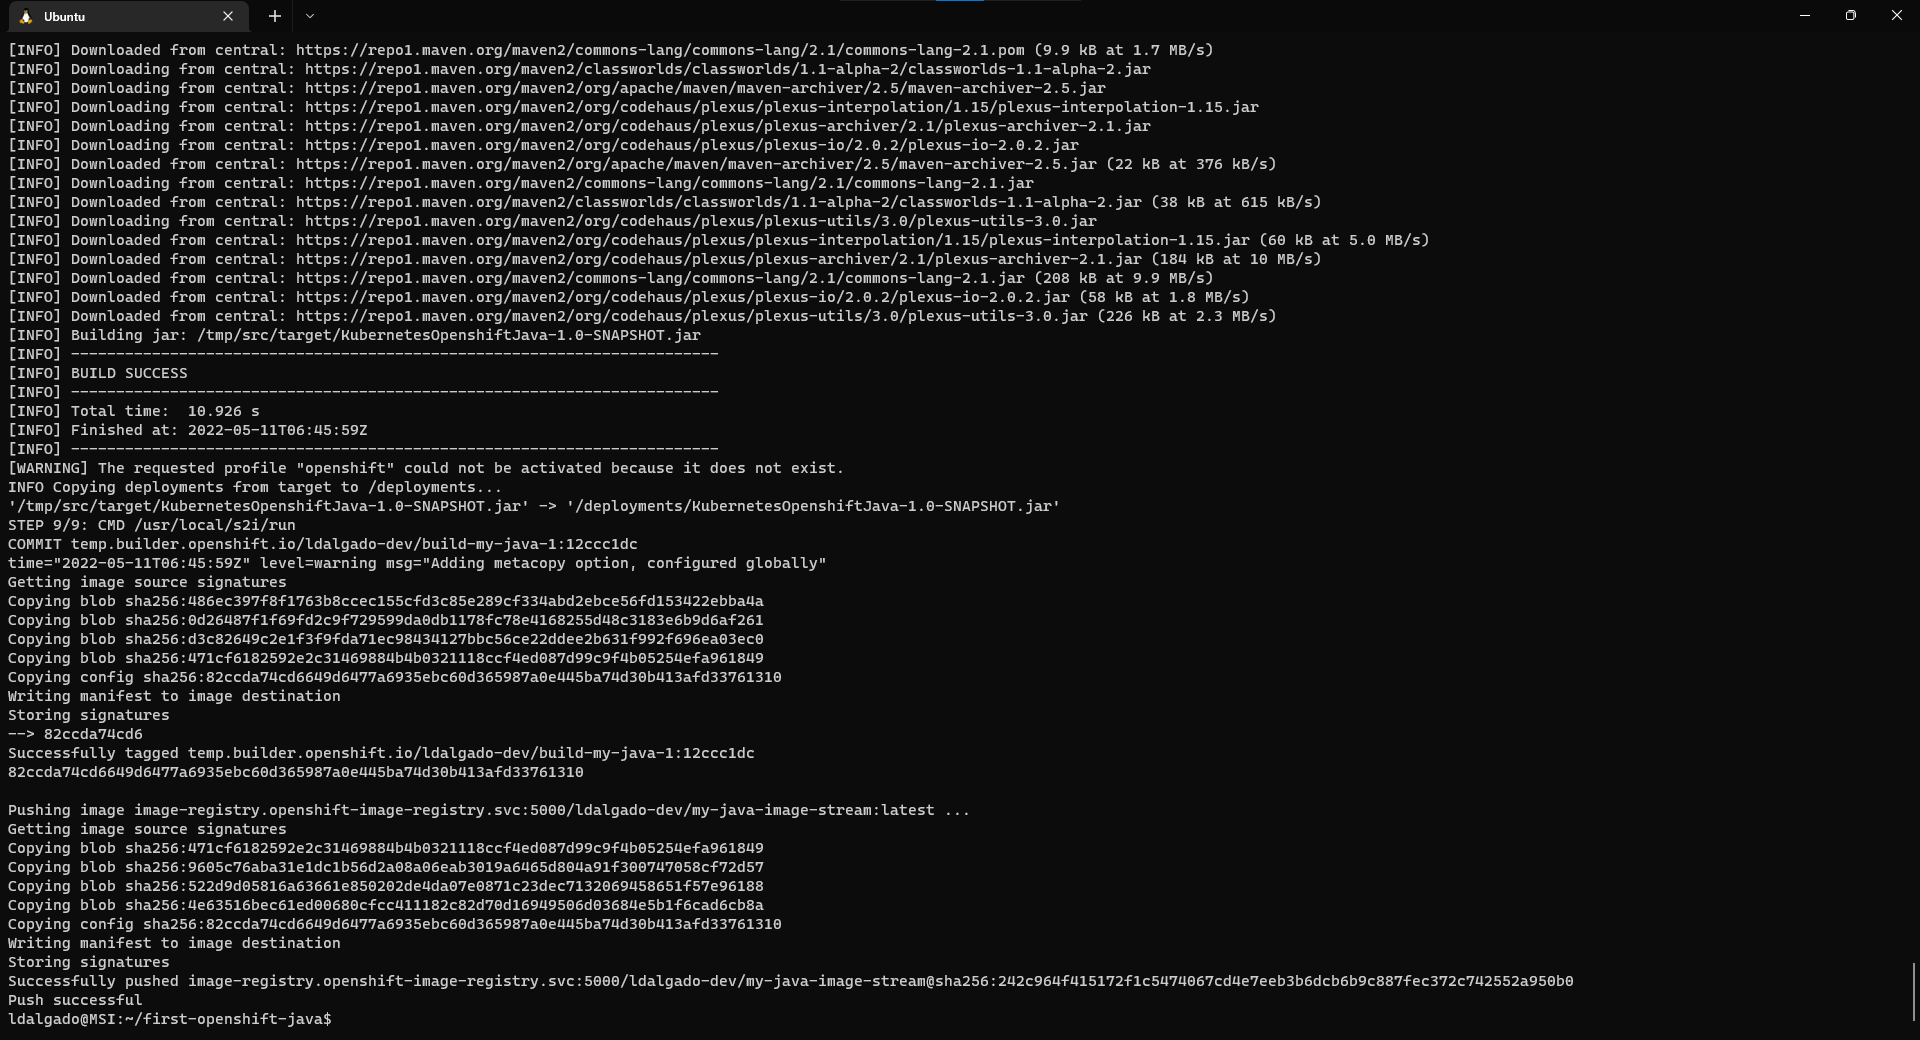
10. Start the Build to create an Image
oc start-build build-my-java --from-dir=. --follow
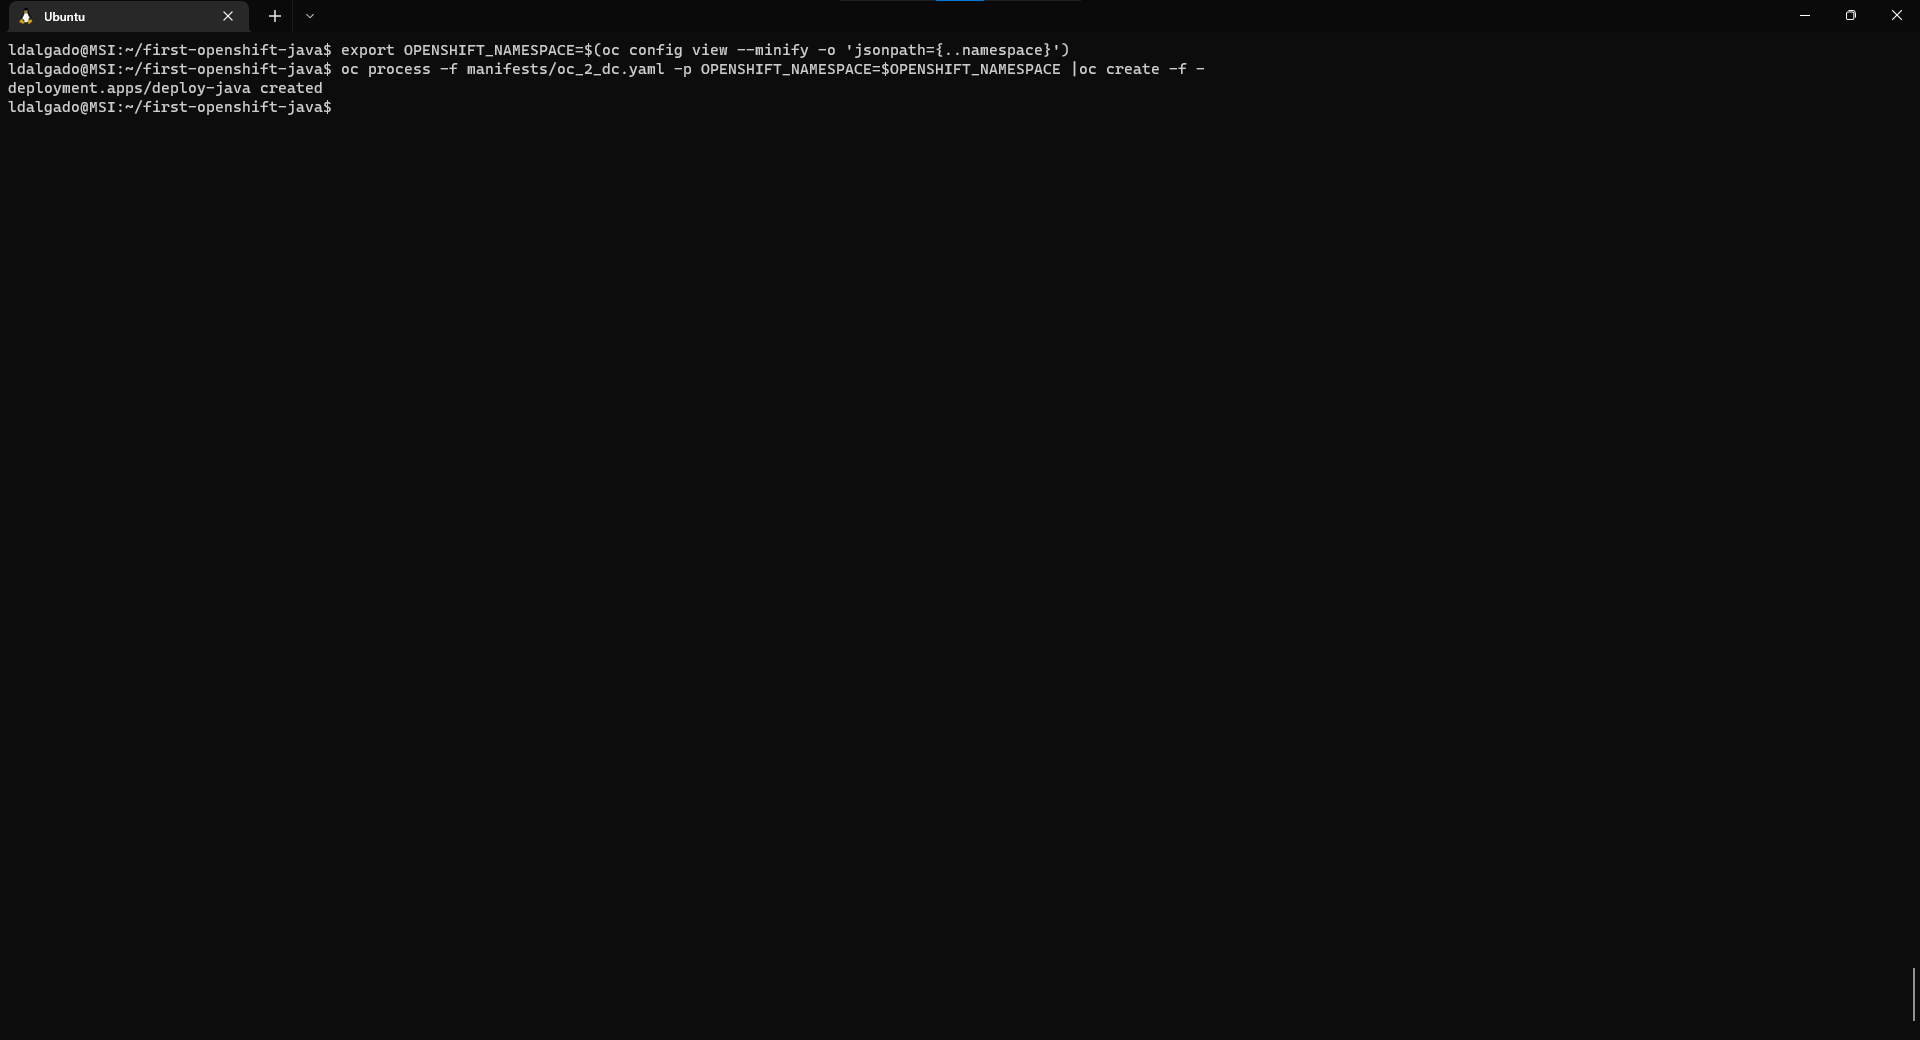
11. Deploy the Image
export OPENSHIFT_NAMESPACE=$(oc config view --minify -o 'jsonpath={..namespace}')
oc process -f manifests/oc_2_dc.yaml -p OPENSHIFT_NAMESPACE=$OPENSHIFT_NAMESPACE |oc create -f -
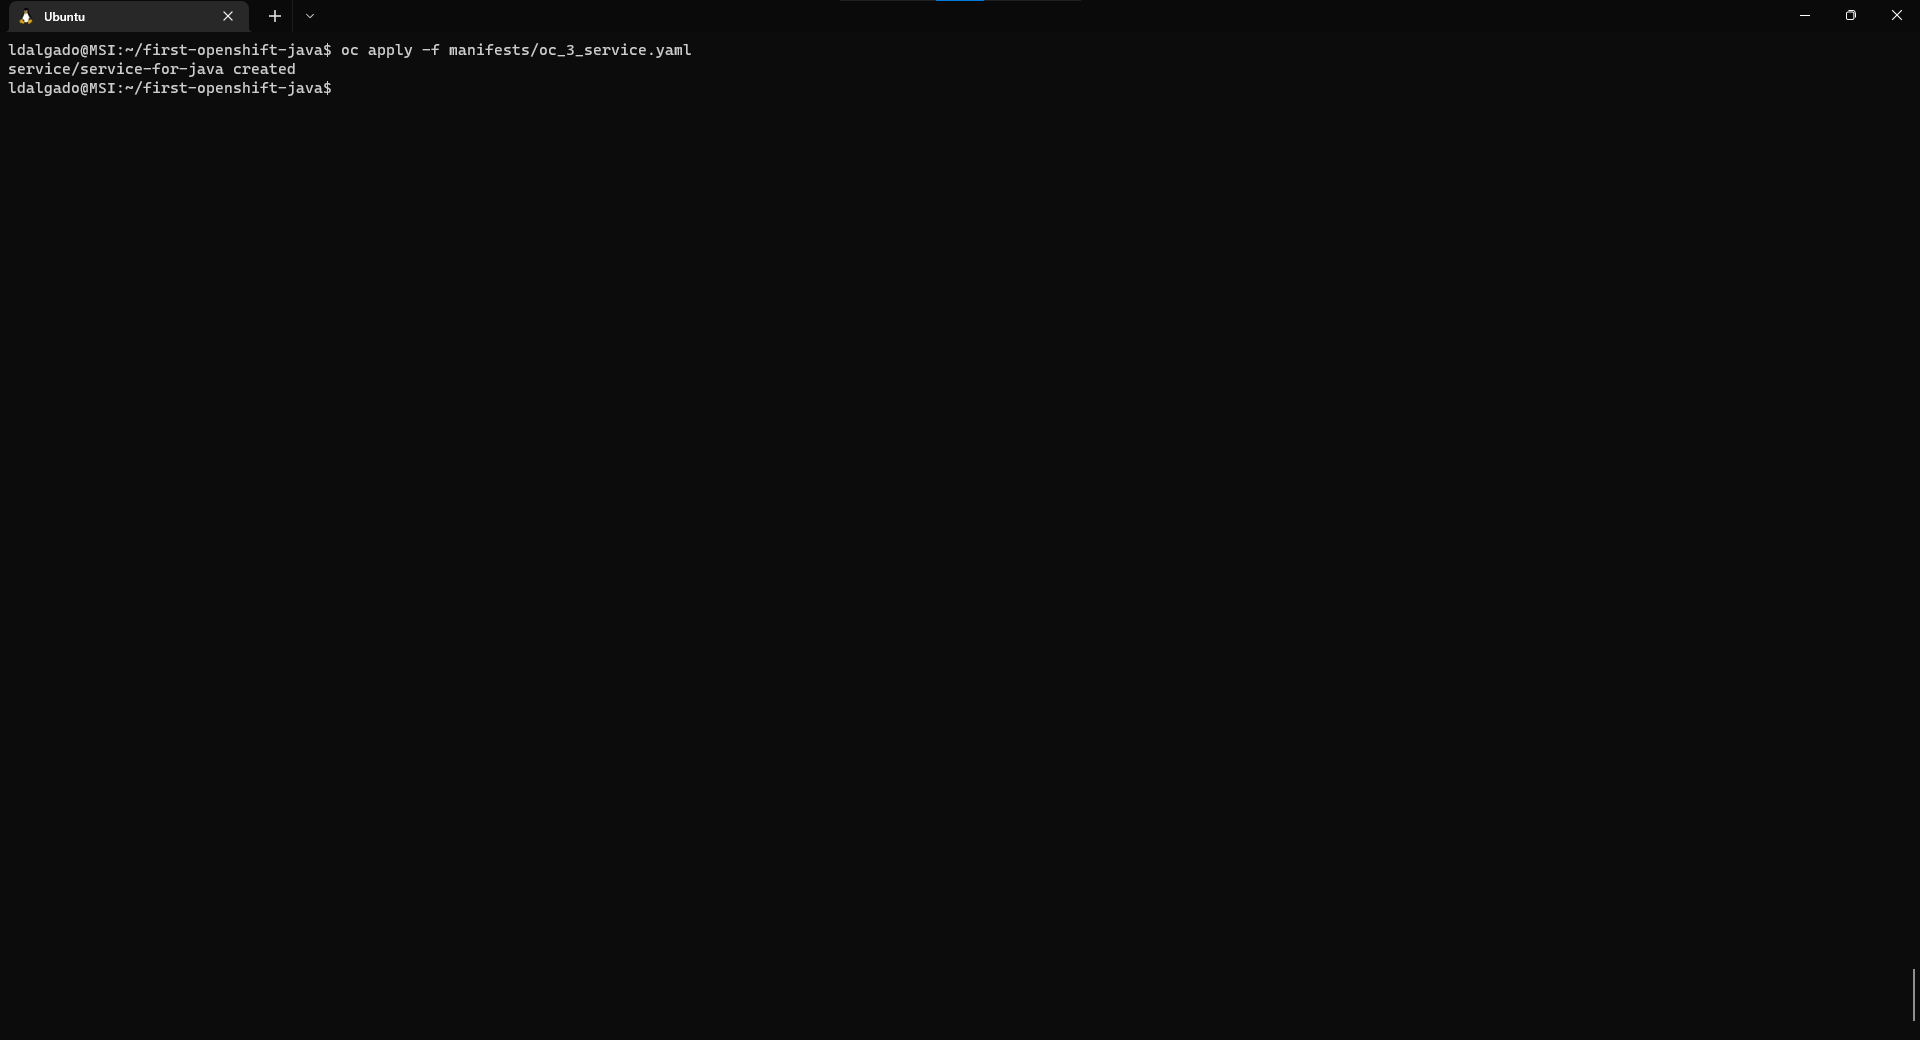
12. Create the Service to access the application from within Openshift
oc apply -f manifests/oc_3_service.yaml
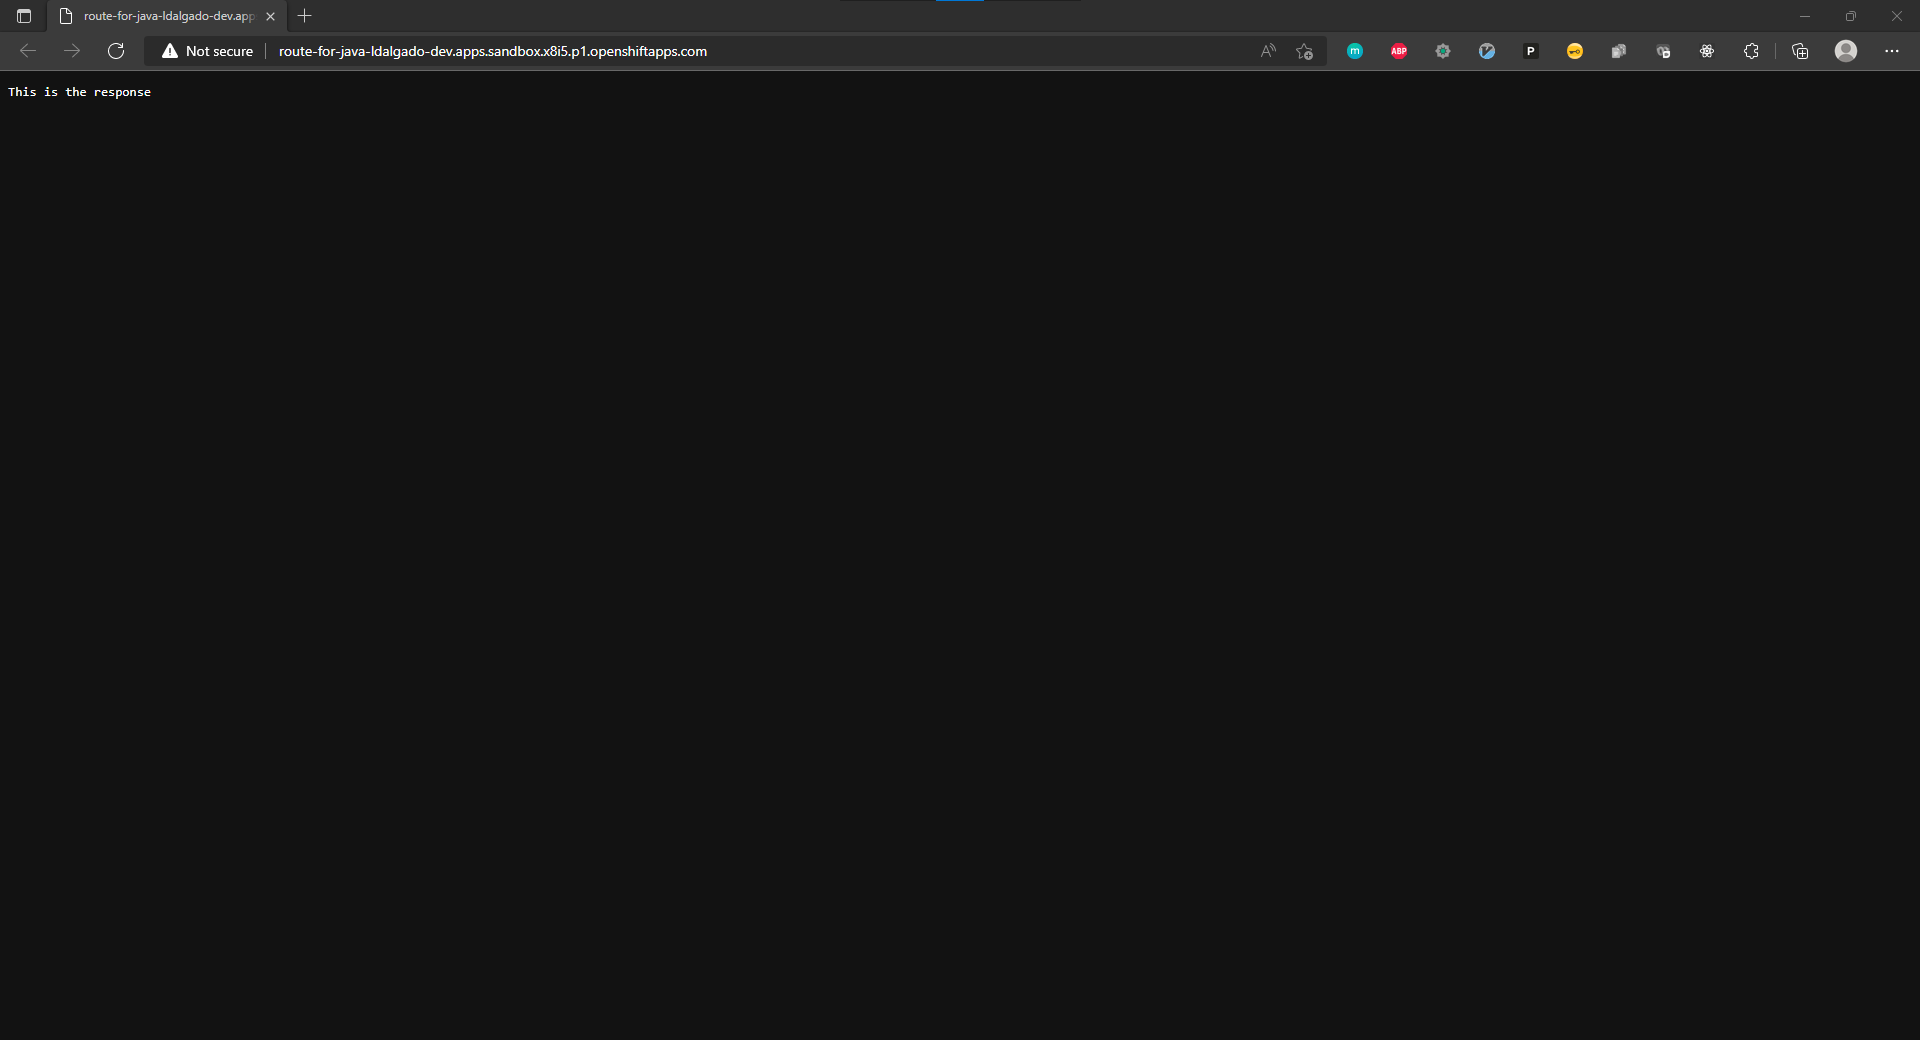
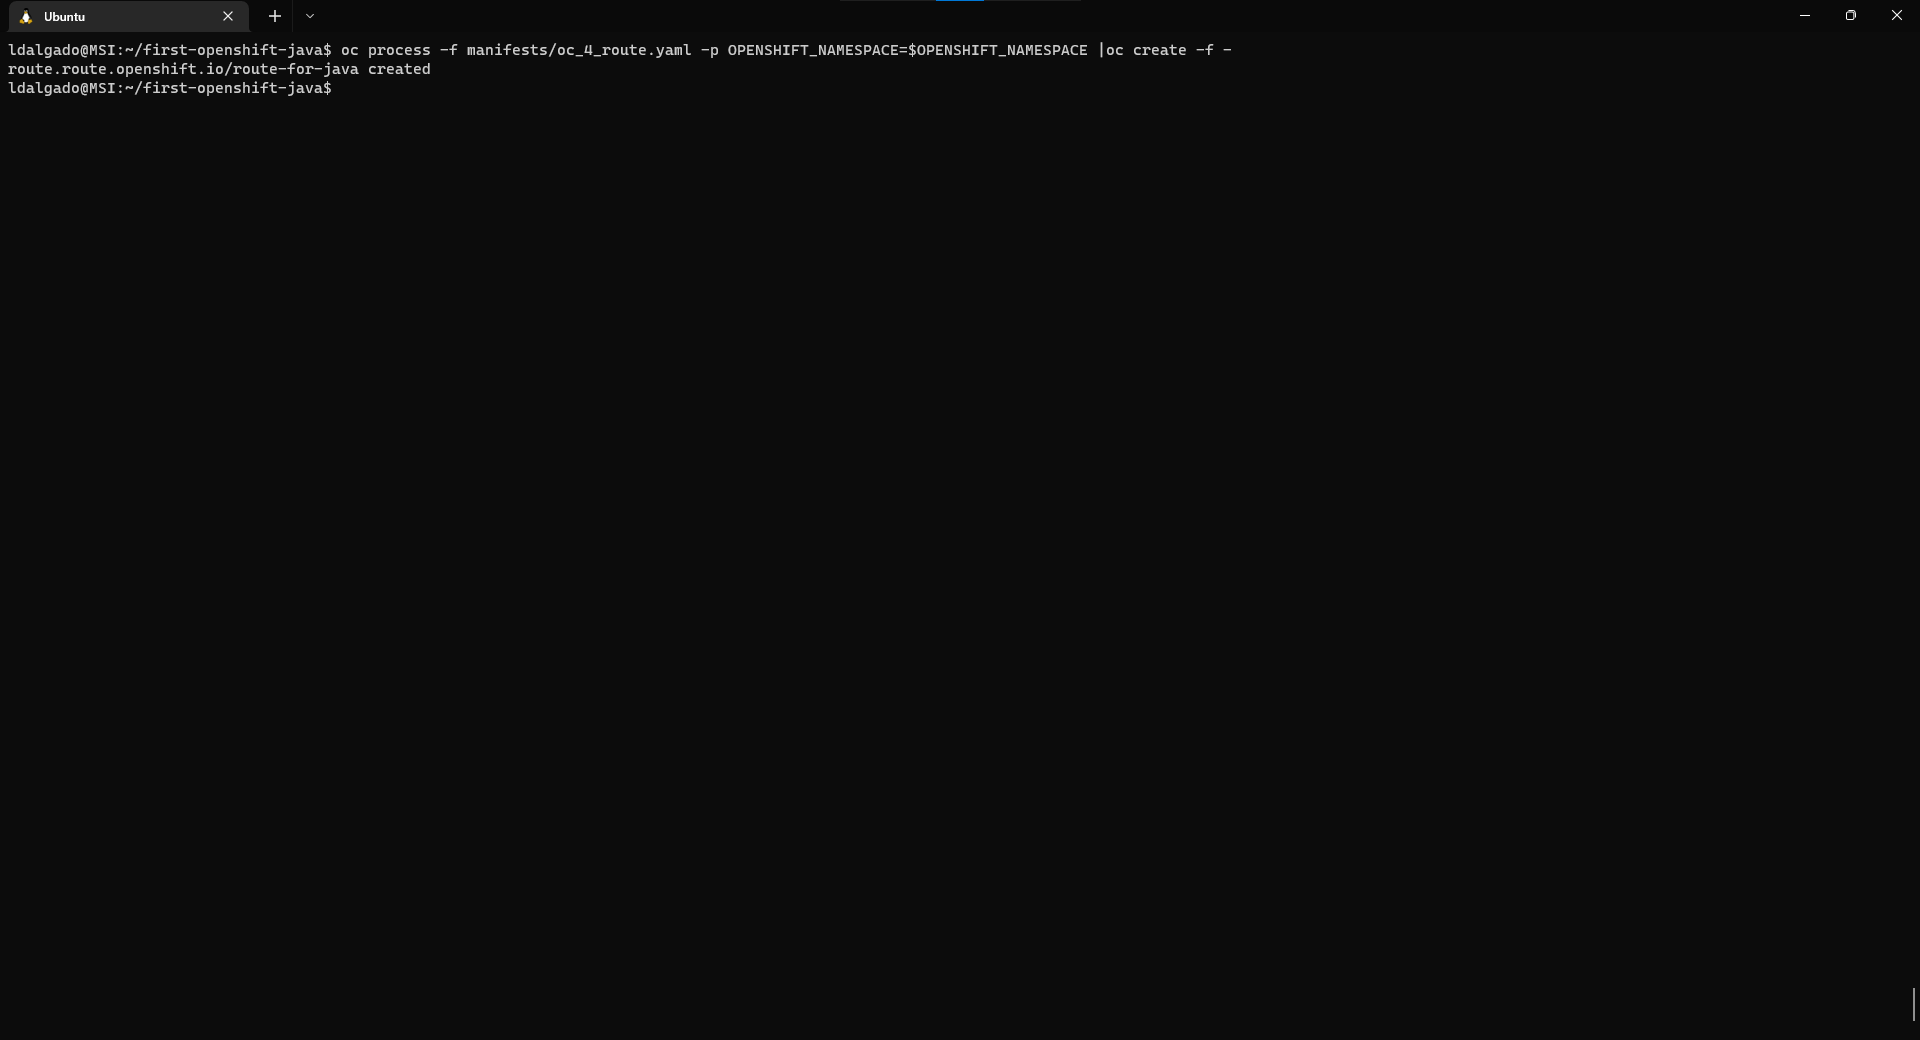
13. Create the Route to access the application from the Internet
oc process -f manifests/oc_4_route.yaml -p OPENSHIFT_NAMESPACE=$OPENSHIFT_NAMESPACE |oc create -f -
14. Access the Application